Na parte 1 aprendemos como usar um script AWS User Data para configurar uma senha de Administrador e configurar o WinRM no Windows. Agora que sabemos como criar uma instância setando um senha especifica, vamos ao restante dos procedimentos. Vamos estruturar nosso projeto e manter as coisas organizadas.
Recursos utilizados, caso não tenha algo instalado, não funcionará :
Python 3.8.0
Módulos pip:
Ansible 2.9.2
Já podemos supor que você tenha o Ansible configurado corretamente para sua conta da AWS (por exemplo, boto instalado, credenciais do IAM configuradas). Consulte o Guia da AWS da Ansible se precisar de ajuda para fazer isso. Por simplicidade, esses exemplos também pressupõem que você tenha uma VPC padrão funcional em sua região (você deve ter, a menos que a tenha excluído). Se você precisar de ajuda para configurar isso, consulte a página da Amazon em VPCs padrão.
Caso queira ir direto para os arquivos usados, pode acessar no github: https://github.com/sidneiweber/ansible-windows-ami
Vamos iniciar pelas nossas variáveis, onde vamos setar a região da AWS, o tipo de instância, nossa chave, vpc e subnet, nossa senha que usamos na primeira parte do artigo e alguns detalhes sobre os volumes:
 1
 2
 3
 4
 5
 6
 7
 8
 9
10
11
12
| # cat group_vars/all.yml
target_aws_region: us-east-1
instance_type: t3.small
keypair: keypair
vpc_id: vpc-xxxxx
subnet: subnet-xxxxx
win_initial_password: myTempPassword123!
volumes:
- device_name: /dev/sda1
device_type: gp2
volume_size: 30
delete_on_termination: true
|
Nosso arquivo hosts ficará assim. O grupo win é onde será adicionada a instância após a criação:
 1
 2
 3
 4
 5
 6
 7
 8
 9
10
| localhost ansible_connection=local
[win]
[win:vars]
ansible_connection=winrm
ansible_ssh_port=5986
ansible_ssh_user=Administrator
ansible_ssh_pass="{{ win_initial_password }}"
ansible_winrm_server_cert_validation=ignore
|
Com essas váriaveis em mãos, vamos iniciar nossa instância base já usando o userdata assim como fizemos no painel da AWS, só que dessa vez diretamente pelo ansible:
 1
 2
 3
 4
 5
 6
 7
 8
 9
10
11
12
13
14
15
16
17
18
19
20
21
22
23
24
25
26
27
28
29
30
31
32
33
34
35
36
37
38
39
40
41
42
43
44
45
46
47
48
49
50
51
52
53
54
55
56
57
58
59
60
61
62
63
64
65
66
67
68
69
70
71
72
| # cat roles/launch/tasks/main.yml
- name: Find Windows AMI base in this region
ec2_ami_facts:
owners: 801119661308
filters:
name: Windows_Server-2019-English-Full-Base*
register: found_amis
- name: Get AMI Windows
set_fact:
win_ami_id: "{{ (found_amis.images | first).image_id }}"
- name: Ensure security group is present
ec2_group:
name: WinRM RDP
description: Inbound WinRM and RDP
region: "{{ target_aws_region }}"
vpc_id: "{{ vpc_id }}"
rules:
- proto: tcp
from_port: 80
to_port: 80
cidr_ip: 0.0.0.0/0
- proto: tcp
from_port: 5986
to_port: 5986
cidr_ip: 0.0.0.0/0
- proto: tcp
from_port: 3389
to_port: 3389
cidr_ip: 0.0.0.0/0
rules_egress:
- proto: -1
cidr_ip: 0.0.0.0/0
register: sg_out
- name: Ensure instances are running
ec2:
region: "{{ target_aws_region }}"
image: "{{ win_ami_id }}"
instance_type: "{{ instance_type }}"
group_id: "{{ sg_out.group_id }}"
key_name: "{{ keypair }}"
wait: yes
wait_timeout: 500
exact_count: 1
assign_public_ip: yes
vpc_subnet_id: "{{ subnet }}"
count_tag:
Name: stock-win-ami-test
instance_tags:
Name: stock-win-ami-test
user_data: "{{ lookup('template', 'userdata.txt.j2') }}"
register: ec2_result
- name: wait for WinRM to answer on all hosts
wait_for:
port: 5986
host: "{{ item.public_ip }}"
delay: 30
timeout: 300
state: started
with_items: "{{ ec2_result.tagged_instances }}"
- name: add hosts to groups
add_host:
name: "win-temp-{{ item.id }}"
ansible_ssh_host: "{{ item.public_ip }}"
ec2_id: "{{ item.id }}"
groups: win
changed_when: false
with_items: "{{ ec2_result.tagged_instances }}"
|
Agora vamos conectar na instância e fazer a instalação do que precisamos, vamos contar com auxilio de um script para instalar o Chocolatey e algumas ferramentas (JDK e git) somente para exemplo.
Vamos também instalar algumas features do Windows como IIS, Powershell e .NET Framework, também somente para aprendizado. Também usaremos o módulo do Chocolatey para instalar o 7zip.
 1
 2
 3
 4
 5
 6
 7
 8
 9
10
11
12
13
14
15
16
17
18
19
20
21
22
23
24
25
26
27
28
29
30
31
32
33
34
35
36
37
38
39
40
41
42
43
44
45
46
47
48
49
50
51
52
53
54
55
56
57
58
59
60
61
62
63
64
65
66
67
68
69
70
71
72
73
74
75
76
| # cat roles/deploy/tasks/main.yml
- name: Copy Script config
win_copy:
src: script.ps1
dest: C:\Windows\Temp\script.ps1
- name: Execute script
win_shell: C:\Windows\Temp\script.ps1
- name: ensure IIS and ASP.NET are installed
win_feature:
name:
- Web-Server
- Web-Http-Redirect
- Web-DAV-Publishing
- Web-Custom-Logging
- Web-Log-Libraries
- Web-ODBC-Logging
- Web-Request-Monitor
- Web-Http-Tracing
- Web-Dyn-Compression
- Web-Basic-Auth
- Web-CertProvider
- Web-Client-Auth
- Web-Digest-Auth
- Web-Cert-Auth
- Web-IP-Security
- Web-Url-Auth
- Web-Windows-Auth
- Web-App-Dev
- Web-Net-Ext
- Web-Net-Ext45
- Web-Asp-Net45
- Web-ISAPI-Ext
- Web-ISAPI-Filter
- Web-Mgmt-Tools
- Web-Scripting-Tools
- Web-Mgmt-Console
- Web-Mgmt-Service
- NET-Framework-Features
- NET-Framework-Core
- NET-HTTP-Activation
- NET-Non-HTTP-Activ
- NET-Framework-45-Features
- NET-Framework-45-Core
- NET-Framework-45-ASPNET
- NET-WCF-Services45
- MSMQ
- MSMQ-Services
- MSMQ-Server
- FS-SMB1
- Telnet-Client
- PowerShellRoot
- PowerShell
- PowerShell-V2
- PowerShell-ISE
- WAS
- WAS-Process-Model
- WAS-NET-Environment
- WAS-Config-APIs
- WoW64-Support
state: present
include_management_tools: yes
register: windows_install
- name: Reboot if installing Web-Server feature requires it
win_reboot:
when: windows_install.reboot_required
- name: Install 7Zip
win_chocolatey:
name: 7zip
state: present
- debug:
msg: web application is available at http://{{ ansible_ssh_host }}/
|
1
2
3
4
5
6
7
8
9
| # cat roles/deploy/files/script.ps1
# Install Chocolatey
iex ((New-Object System.Net.WebClient).DownloadString('https://chocolatey.org/install.ps1'))
# Globally Auto confirm every action
choco feature enable -n allowGalobalConfirmation
# Install JDK 8 and git
choco install jdk8
choco install git
|
Agora vamos gerar nossa AMI personalizada, lembrando que o nome deve ser sempre diferente ao gerar uma nova AMI, aqui é interessante incluir uma variável com o número do build do seu pipeline por exemplo:
 1
 2
 3
 4
 5
 6
 7
 8
 9
10
11
12
13
14
| # cat roles/build-ami/tasks/main.yml
- name: Create AMI
ec2_ami:
region: "{{ target_aws_region }}"
instance_id: "{{ item.id }}"
name: "windows-personalizado"
wait: yes
state: present
with_items: "{{ ec2_result.tagged_instances }}"
register: ami
- name: Set New AMI id variable
set_fact:
ami_result: "{{ (ami.results | first).image_id }}"
|
Para não ficarmos com essa instância base rodando sem necessidade, vamos exclui-la:
 1
 2
 3
 4
 5
 6
 7
 8
 9
10
11
12
13
14
15
16
17
18
| # cat roles/terminate/tasks/main.yml
- name: ensure instances are not running
ec2:
region: "{{ target_aws_region }}"
image: "{{ win_ami_id }}"
instance_type: "{{ instance_type }}"
group_id: "{{ sg_out.group_id }}"
key_name: "{{ keypair }}"
wait: yes
wait_timeout: 500
exact_count: 0
assign_public_ip: yes
vpc_subnet_id: "{{ subnet }}"
count_tag:
Name: stock-win-ami-test
instance_tags:
Name: stock-win-ami-test
register: ec2_result
|
Então nosso arquivo principal para realizarmos essa tarega ficará assim:
 1
 2
 3
 4
 5
 6
 7
 8
 9
10
11
12
13
14
15
16
17
| # cat deploy.yml
- hosts: localhost
gather_facts: no
roles:
- role: launch
name: win
- hosts: win
roles:
- deploy
- hosts: localhost
gather_facts: no
connection: local
roles:
- build-ami
- terminate
|
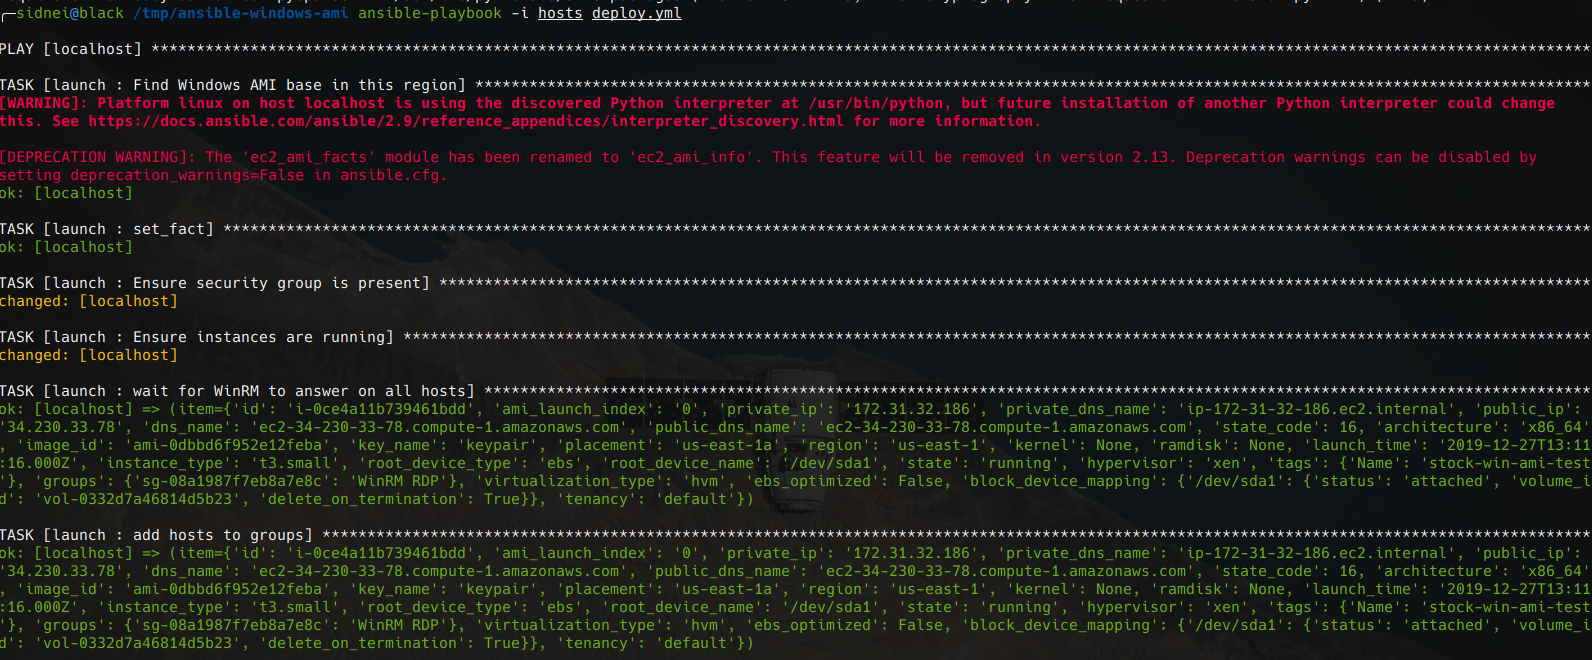
E para rodar tudo e ser feliz basta executar: ansible-playbook -i hosts deploy.yml
Iniciando a execução:
Instância rodando na AWS:

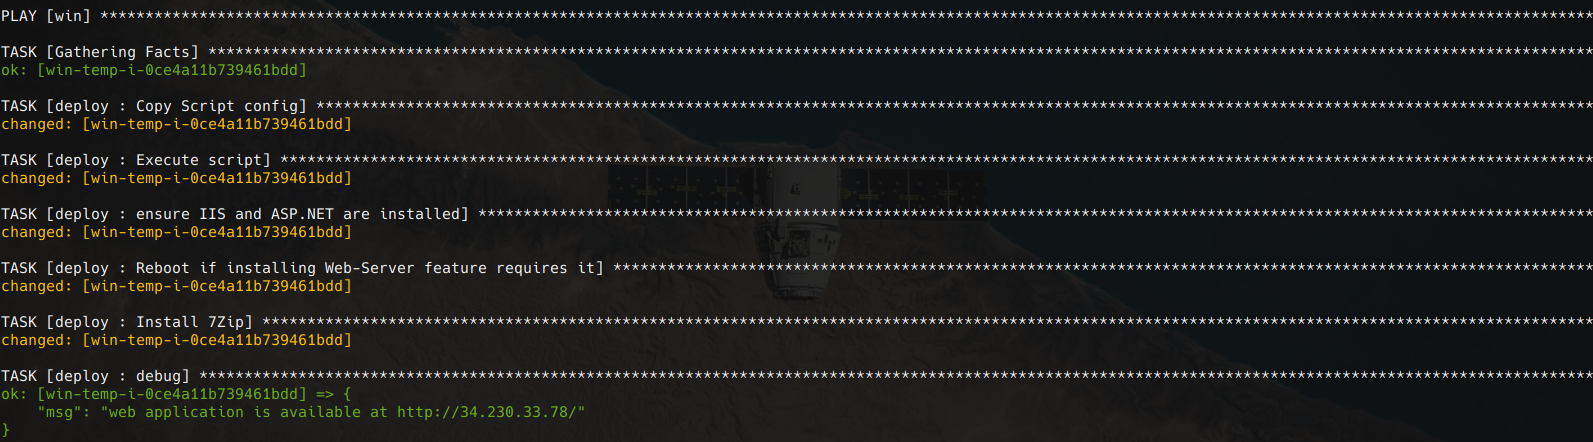
Instalando aplicações e configurações:
Gerando a AMI e encerrando a instância base:

AMI gerada no painel da AWS:

Resumo das execuções no Ansible:

Referencia: http://blog.rolpdog.com/2015/09/manage-stock-windows-amis-with-ansible_3.html